How to install a drive into the enclosure:
You will need
- 4 mounting screws
- 4 rubber mount points
- 1 Philips screw
- 1 USB controller board
- A 3.5" SATA drive (formatted or wipe) do not do this with a drive with data on. Small drives <1.5 TB might not need to be formatted and may retain their data. Either way make sure you have 3 OTHER COPIES of you data as you WILL FORMAT THIS DRIVE!
Install the 4 sliver mounting screw on the side of the drive. Gently position them and turn them until tight. Use a Torx 10 driver to tighten if needed or a soft cloth and pliers. DO NOT OVER TIGHTEN as the case and parts are aluminium

Now the mount points are on the drive should look like this. Slide on the 3 rubber dampers.

Once fitted the dampers will cover the sliver mount points the drive should look like this.

Slide the USB controller on as shown. We are ready to install the drive and controller into the vented part of the case.

Angle the drive into the case. Take care that the USB Port and Power Port on the USB controller line up with the holes on the vented part of the case.

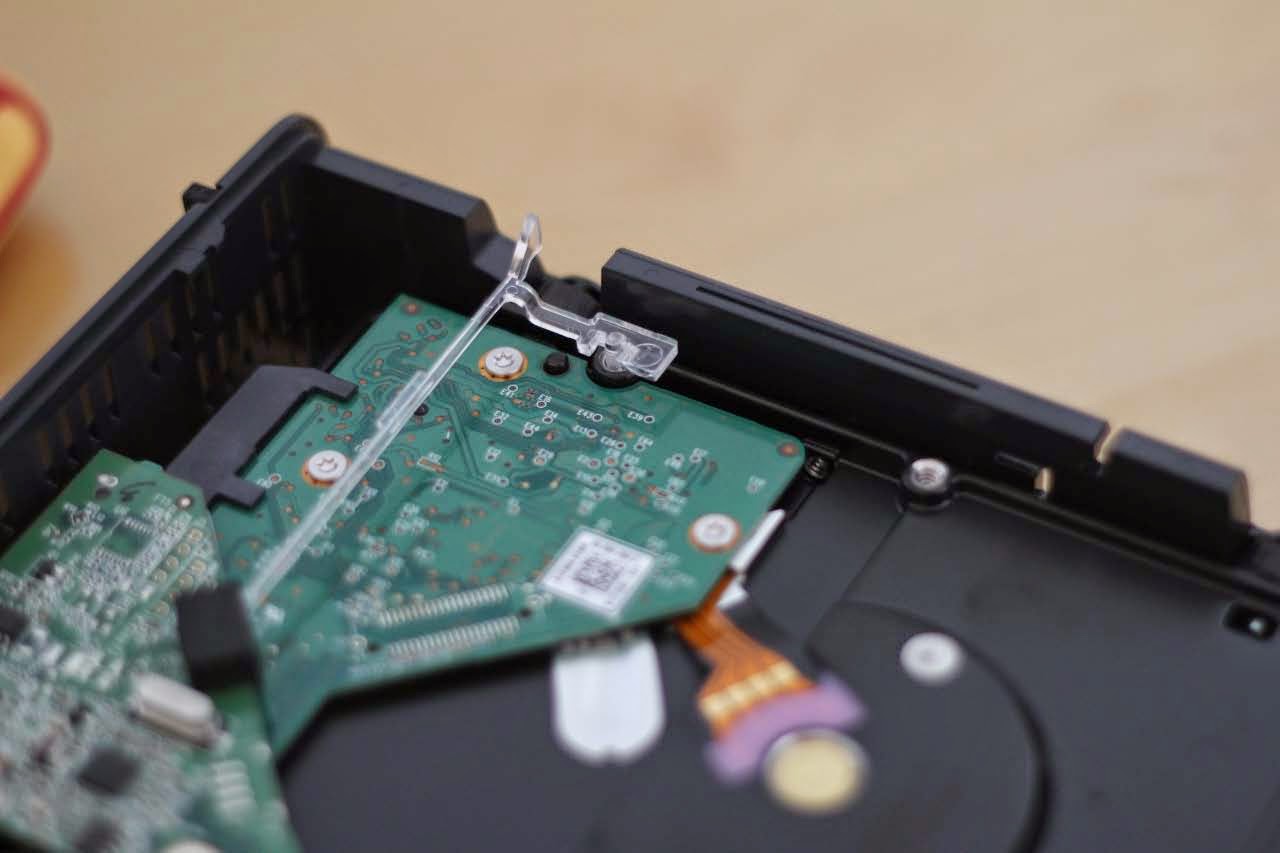
Once in the case we can installer the light pipe.

Slide the thin end into the rubber shroud on the USBc controller and place the mounting part of the light pipe into the screen hole on the HD.
Now refit the single philips screw that holds the USB controller in place. It is a good time to check the USB connection and Power connection are aligned with the holes on the case. TAKE CARE the drive is not yet fixed inside the case and it will FALL OUT if you don't hold it with care!

OK now slide the drive into the case. Take care to make sure the vented part has its rubber feet DOWN and the Shiny part of the case has the WD Logo at the bottom.
 |
| Above: Ready to slide into the case... |
 |
| Above: Drive almost complexly inserted... |
 |
| Above: Almost done.... |
 |
| Above Done! |

Above Done ready to go!
No comments:
Post a Comment